kenmore dryer model 110 repair manual pdf
This manual provides comprehensive guidance for repairing and maintaining the Kenmore Model 110 dryer, offering step-by-step instructions and essential troubleshooting tips for DIY enthusiasts and professionals alike․
- Learn to identify and fix common issues efficiently․
- Ensure safety and optimal performance with detailed procedures․
Perfect for homeowners seeking to extend their dryer’s lifespan and save on repair costs․
Overview of the Kenmore Dryer Model 110
The Kenmore Dryer Model 110 is a reliable and efficient appliance designed for household use․ Known for its durability and performance, this model is popular among homeowners due to its user-friendly design and consistent drying results․ Available in both electric and gas configurations, it offers flexibility based on user preferences․ The dryer features multiple heat settings and a spacious drum capacity, making it suitable for various fabric types and load sizes․ Regular maintenance and timely repairs are crucial to extending its lifespan and ensuring optimal functionality․ Understanding its components and operation is essential for effective troubleshooting and DIY repairs, as outlined in the repair manual․
Key features include:
- Durable construction for long-term reliability․
- Multiple heat settings for fabric care․
- Large drum capacity for efficient drying․
These features make the Kenmore 110 a practical choice for households seeking dependable laundry solutions․
Why a Repair Manual is Essential for DIY Maintenance
A repair manual is indispensable for DIY maintenance of the Kenmore Model 110 dryer, as it provides detailed instructions and diagrams to guide users through repairs safely and effectively․ It helps identify common issues quickly, reducing downtime and ensuring proper fixes․ Without a manual, DIY attempts may lead to further damage or safety hazards․ The manual also lists required tools and parts, preventing delays and ensuring accuracy․ Additionally, it offers troubleshooting tips to address problems before they escalate․ By following the manual, users can maintain their dryer’s performance, extend its lifespan, and save on professional repair costs․ It empowers homeowners to take control of their appliance’s maintenance confidently․
Key benefits:
- Step-by-step repair guidance․
- Illustrations for clarity․
- Safety precautions and tips․
- Parts and tools identification․
It’s a must-have resource for anyone aiming to perform DIY repairs successfully․
Importance of Using the Correct Repair Manual
Using the correct Kenmore Model 110 repair manual ensures accurate repairs, prevents safety hazards, and avoids costly mistakes from improper fixes or incompatible parts․
Key reasons:
- Ensures compatibility with specific model features․
- Provides precise troubleshooting and repair steps․
It guarantees safe and effective DIY maintenance․
Specific Features of the Kenmore 110 Dryer
The Kenmore 110 dryer is known for its reliability and performance, featuring multiple heat settings, a spacious drum capacity, and a durable design suitable for heavy-duty use․
Key features include:
- Gas and electric models available for flexibility․
- Advanced moisture-sensing technology for efficient drying․
- Quiet operation compared to older models․
- Sturdy construction with a long-lasting exterior finish․
These features make the Kenmore 110 a popular choice for households requiring consistent and reliable drying performance․
Risks of Using the Wrong Repair Manual
Using an incorrect repair manual for the Kenmore 110 dryer can lead to improper repairs, potentially causing safety hazards or further damaging the appliance․
Risks include:
- Incorrect diagnostic procedures leading to misidentification of issues․
- Installing incompatible parts, which may void the warranty or cause malfunctions․
- Failure to follow safety guidelines, increasing the risk of injury or fire․
- Wasting time and money on unnecessary or ineffective repairs․
Always ensure the manual matches your specific Kenmore 110 model to guarantee accurate and safe repairs․
Sources for the Kenmore Dryer Model 110 Repair Manual
Trusted sources include official Kenmore websites, Amazon, and platforms like Appliantology․org or ServiceManuals․net, offering authentic PDF downloads for accurate repair guidance․
- Official Kenmore websites ensure authenticity and compatibility․
- Reliable online platforms provide easy access to PDF manuals․
Official Sources for the Repair Manual
Official sources like Kenmore’s website, Sears PartsDirect, and authorized retailers provide authentic repair manuals for the Model 110 dryer․ These sources ensure compatibility and accuracy․
- Kenmore’s official website offers downloadable PDF manuals specific to your dryer model․
- Sears PartsDirect provides verified repair manuals tailored for DIY repairs․
- Manufacturer-approved platforms guarantee reliable and safe repair instructions․
Using official sources minimizes risks and ensures your repairs are done correctly, maintaining safety and appliance performance․
Reliable Online Platforms for Downloading the PDF
Several trusted online platforms offer the Kenmore Dryer Model 110 repair manual in PDF format․ Sears PartsDirect and ServiceManuals․net provide verified, downloadable manuals tailored for your specific model․
- Amazon offers a “Do It Yourself Repair Manual” by Roebuck Sears, available in paperback or digital formats․
- Appliantology․org and Lorain Furniture provide immediate PDF downloads with detailed repair procedures․
- These platforms ensure access to accurate, model-specific instructions for safe and effective repairs․
Using these reliable sources guarantees you have the correct guidance for maintaining or fixing your Kenmore dryer․
Troubleshooting Common Issues with the Kenmore 110 Dryer
Addressing issues like no heat, poor rotation, or uneven drying requires accurate troubleshooting steps outlined in the repair manual for effective, safe, and quick resolutions at home․
- Identify and resolve power supply issues or faulty heating elements․
- Check belt tension and replace worn belts to restore proper drum rotation․
- Clean vents and filters to ensure optimal airflow and performance․
Regular inspection and maintenance can prevent these issues from recurring, ensuring smooth operation and extending the dryer’s lifespan․
Identifying Common Problems and Their Solutions
The Kenmore 110 dryer often experiences issues like no heat, drum not turning, or poor airflow․ These problems can be diagnosed and resolved using the repair manual’s detailed troubleshooting guide․
- No Heat: Check power supply, thermal fuse, and heating element for damage or malfunction․
- Drum Not Turning: Inspect and replace the worn-out drum belt or faulty motor․
- Poor Airflow: Clean clogged vents and filters to restore proper air circulation․
Regular maintenance and prompt repairs can prevent these issues from escalating, ensuring efficient and safe dryer operation․
Safety Precautions for Repairing the Kenmore 110 Dryer
Always disconnect power before starting repairs․ Avoid flammable vapors nearby․ Ensure proper ventilation and wear protective gear to prevent injuries during maintenance․
General Safety Tips for DIY Repairs
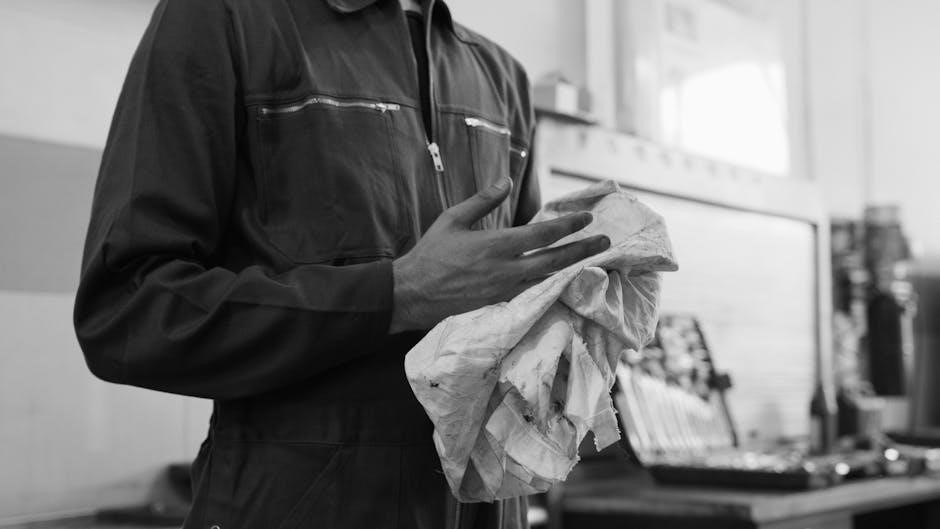
Prioritizing safety is crucial when repairing your Kenmore 110 dryer․ Always disconnect the power supply before starting any repair to avoid electrical shocks or accidents․ Ensure the dryer is cool to prevent burns from heated components․ Wear protective gear, such as gloves and safety glasses, to protect yourself from sharp edges or debris․ Proper ventilation is essential, especially when working with gas dryers, to prevent inhaling harmful fumes․ Never bypass safety features or ignore warning labels․ Follow the repair manual’s instructions carefully and avoid using flammable materials nearby․ Regularly inspect tools and parts for damage to ensure safe and effective repairs․ Ground yourself to prevent static electricity damage to electronic components․ By adhering to these guidelines, you can minimize risks and ensure a safe DIY repair experience․
Specific Safety Guidelines for the Kenmore 110 Model
When repairing the Kenmore 110 dryer, always disconnect the power cord and verify the machine is cool before starting work․ For gas models, check for leaks using a gas detector and ensure proper ventilation to avoid hazardous fumes․ Never tamper with safety features like thermal limit switches or high-limit thermostats, as this can lead to fire risks․ Use a multimeter to test for voltage before handling electrical components․ Avoid touching internal wires or heating elements without proper insulation․ Secure the drum during repairs to prevent accidental movement․ Follow the manual’s instructions for disassembling and reassembling parts․ Keep flammable materials away from the work area․ Ground yourself to prevent static electricity damage to electronic controls․ Always refer to the Kenmore 110 repair manual for model-specific safety protocols to ensure safe and effective repairs․
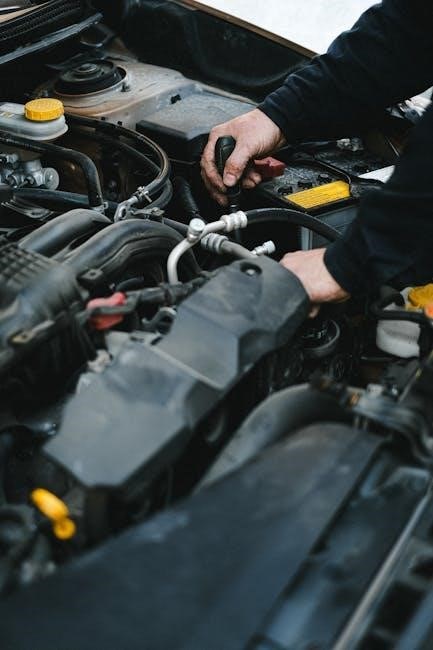
Step-by-Step DIY Repair Guide
Start by disconnecting power and ensuring the dryer is cool․ Refer to the Kenmore 110 repair manual for specific disassembly instructions․ Remove the top and front panels to access internal components․ Inspect the drum belt for wear or breaks and replace it if necessary․ Check the drum rollers and axles for damage and lubricate or replace them as needed․ If the heating element is faulty, carefully remove and install a new one, ensuring proper electrical connections․ Reassemble the dryer in the reverse order of disassembly, tightening all screws securely․ Finally, test the dryer to ensure it operates quietly and efficiently․
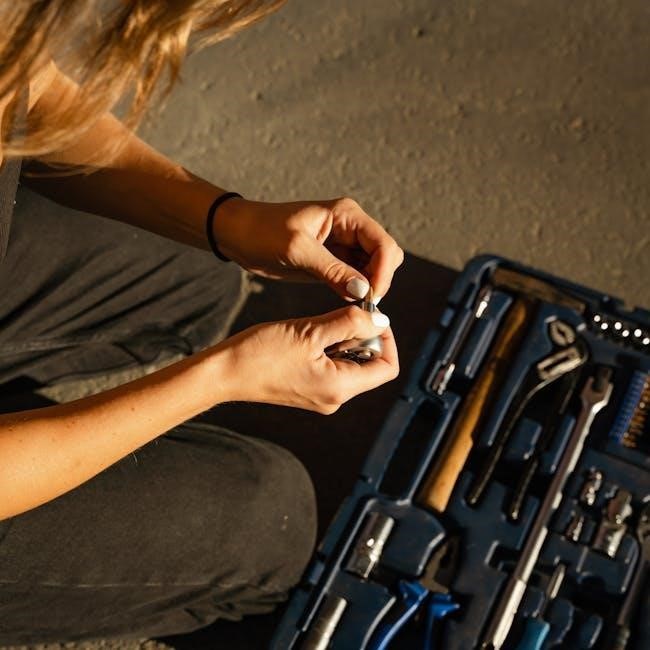
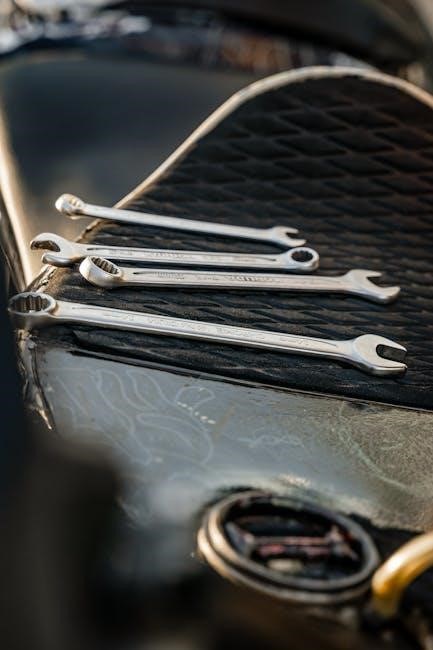
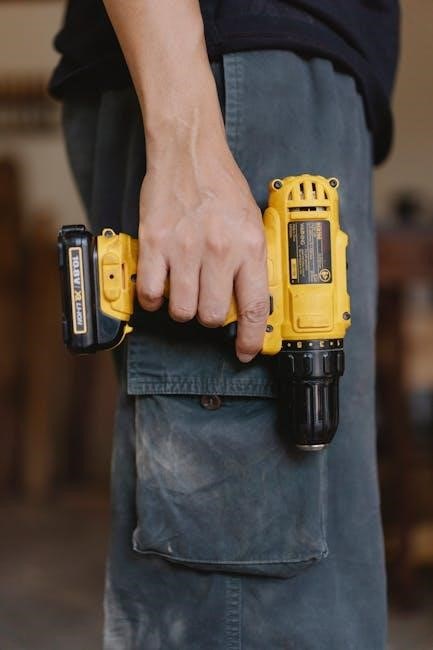
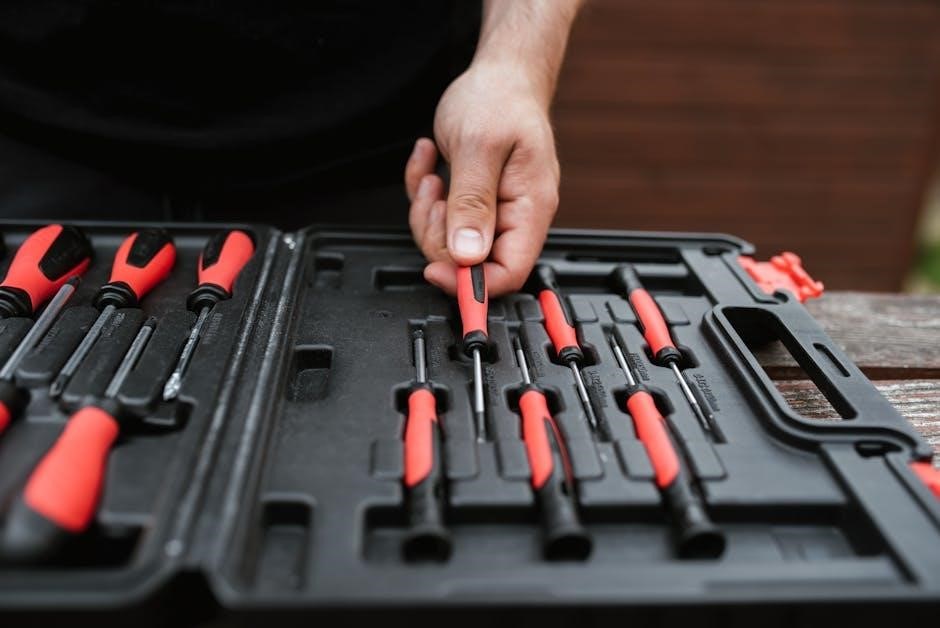
Essential Tools and Parts Needed for Repairs
To repair your Kenmore Model 110 dryer, gather the necessary tools and parts․ Essential tools include a screwdriver set, pliers, a wrench, and a multimeter for diagnosing electrical issues․ Common replacement parts include the drum belt, idler pulley, drum rollers, and heating element․ Ensure all parts are compatible with your specific model․ Refer to the repair manual for exact part numbers and sourcing options, such as authorized dealers or online platforms like Repair Clinic or Sears PartsDirect․ Having these tools and parts ready will streamline the repair process and minimize downtime for your dryer․
Maintenance Tips to Extend the Life of Your Kenmore 110 Dryer
- Clean the lint filter after each use to improve airflow and efficiency․
- Inspect and clean the venting system regularly to prevent blockages․
- Check the drum rollers and belt for wear and replace as needed․
- Ensure proper installation and leveling of the dryer for stable operation․
Regular maintenance helps prevent breakdowns and extends the dryer’s lifespan․
Regular Maintenance Practices to Prevent Future Issues
Regular maintenance is crucial to ensure your Kenmore dryer operates efficiently and lasts longer․ Start by cleaning the lint filter after each use to prevent buildup and potential fires․ Check the venting system regularly to avoid blockages that can lead to overheating․ Inspect the drum rollers and drive belt for wear; replace them if necessary to maintain smooth operation․ Ensure the dryer is properly installed and leveled to prevent vibration and imbalance․ Additionally, clean the moisture sensors to ensure accurate drying cycles․ Follow a maintenance schedule, checking these components every few months or as needed․ By staying proactive, you can prevent breakdowns and extend the life of your dryer․
The Kenmore Model 110 repair manual empowers users to diagnose and fix issues efficiently, ensuring safety and optimal performance while extending the dryer’s lifespan through proper maintenance․
Final Thoughts on Using the Kenmore Dryer Model 110 Repair Manual
The Kenmore Model 110 repair manual is an invaluable resource for DIY enthusiasts and professionals, offering clear instructions and safety tips to ensure effective and safe repairs․ With detailed step-by-step guides, this manual helps users identify and resolve common issues, such as faulty heating elements or malfunctioning timers, without the need for costly professional assistance․ By following the manual’s guidelines, users can extend the lifespan of their dryer and maintain its optimal performance․ Additionally, the manual emphasizes the importance of regular maintenance to prevent future problems, making it a comprehensive tool for anyone looking to keep their Kenmore dryer in top condition․ Whether you’re tackling a minor fix or a major repair, the Kenmore Model 110 repair manual provides the confidence and knowledge needed to get the job done right․ Stay safe, save money, and keep your dryer running smoothly with this essential guide․
Encouragement for Safe and Effective DIY Repairs
Embrace DIY repairs with confidence using the Kenmore Model 110 repair manual․ This guide empowers you to tackle issues safely and effectively, saving time and money․ By following the manual’s clear instructions, you can resolve common problems like faulty heating elements or faulty thermostats․ Remember to always prioritize safety, unplug the dryer before starting repairs, and use appropriate tools․ DIY repairs not only extend your dryer’s lifespan but also enhance your troubleshooting skills․ Take pride in maintaining your appliance and enjoy the satisfaction of fixing it yourself․ Stay safe, be methodical, and achieve professional-quality results with this trusted manual․
- Safety first: Always unplug the dryer before repairs․
- Use proper tools to avoid further damage․
- Follow the manual’s step-by-step guidance for best results․
Empower yourself to keep your Kenmore dryer running smoothly for years to come․